Create your first GPU VM
Overview
Following this guide, you can create and connect to a GPU VM end-to-end in under five minutes.
- Signed in to the ECI portal — if not yet, start with Sign up and sign in
Step 1: Create the VM
-
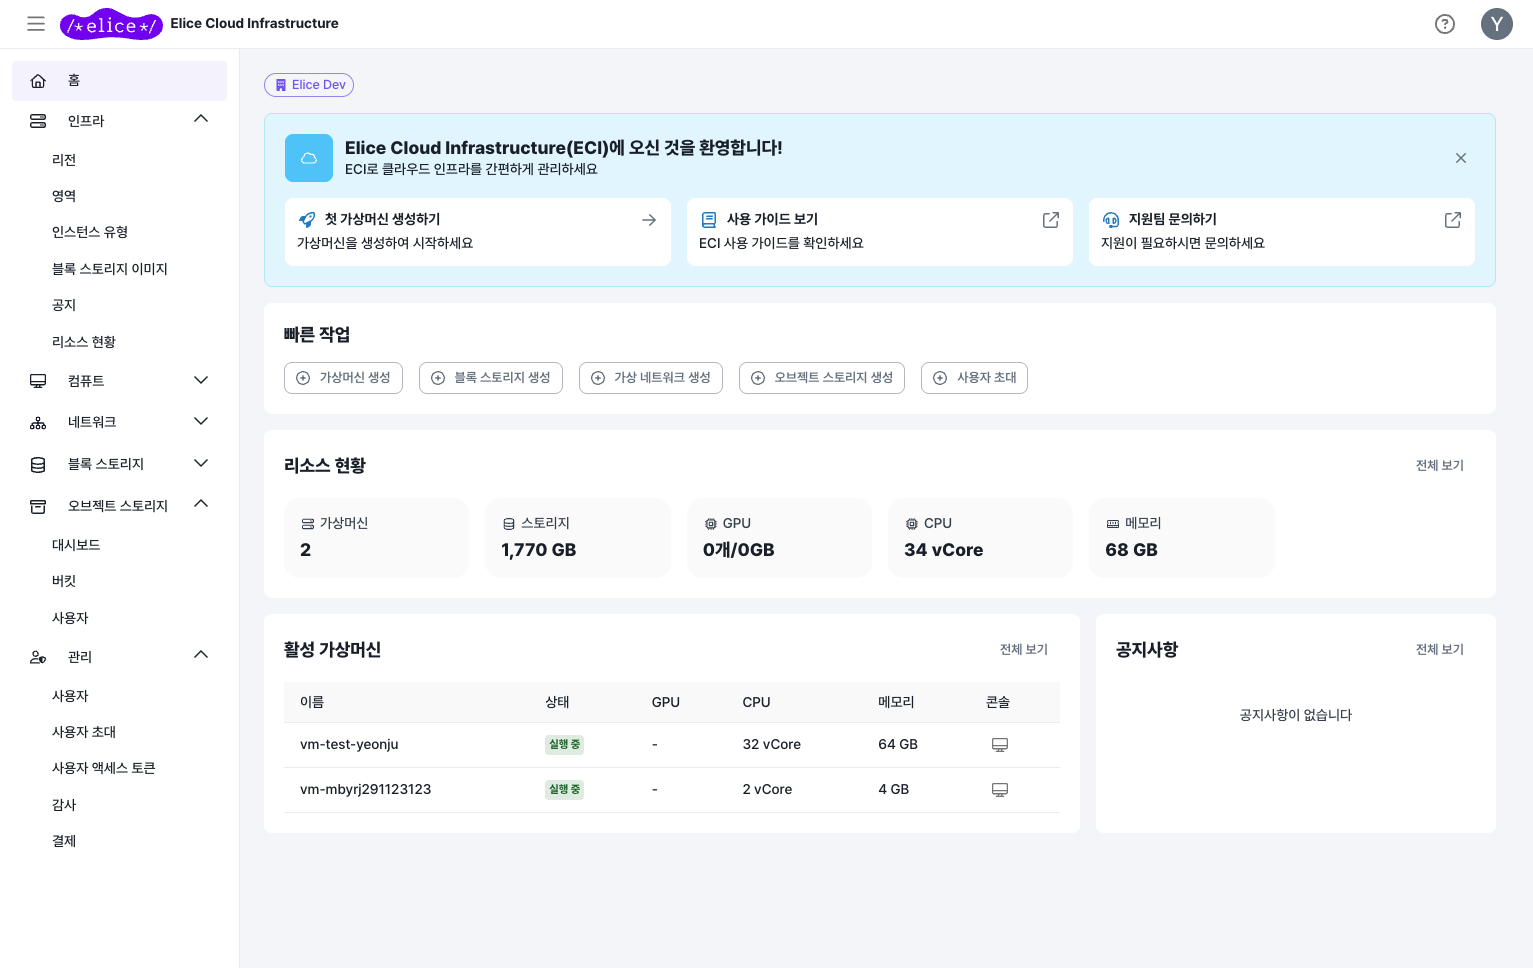
From the left-hand menu, choose Compute > Virtual Machines.
-
Click the Create VM button in the top right.
-
On the Basic Info step, fill in the following:
Field Description Name A recognizable name (e.g. my-gpu-vm)Zone The zone to deploy in (choices vary by organization) Instance type Pick a GPU type (e.g. G-NHHS-80= H100 × 1)Pricing type On-demand is recommended for your first try Image For GPU workloads, pick an image whose name contains (AI/GPU) (e.g. Ubuntu 24.04 LTS (AI/GPU) (50 GiB)— CUDA and drivers preinstalled)Username 1–32 characters; lowercase letters, digits, _, and-only; must start with a lowercase letter or_(e.g.elice)Password 10–256 characters; must include 3 or more of uppercase, lowercase, digits, special characters. No sequential or repeating characters, and the email local part is not allowed -
On the Network step, choose the virtual network and subnet. If you need external access, either create a new public IP or attach an existing one. The network interface is created at this step, and the public IP attaches to that interface.
-
On the Storage step, confirm the OS disk size and attach additional block storage if needed.
-
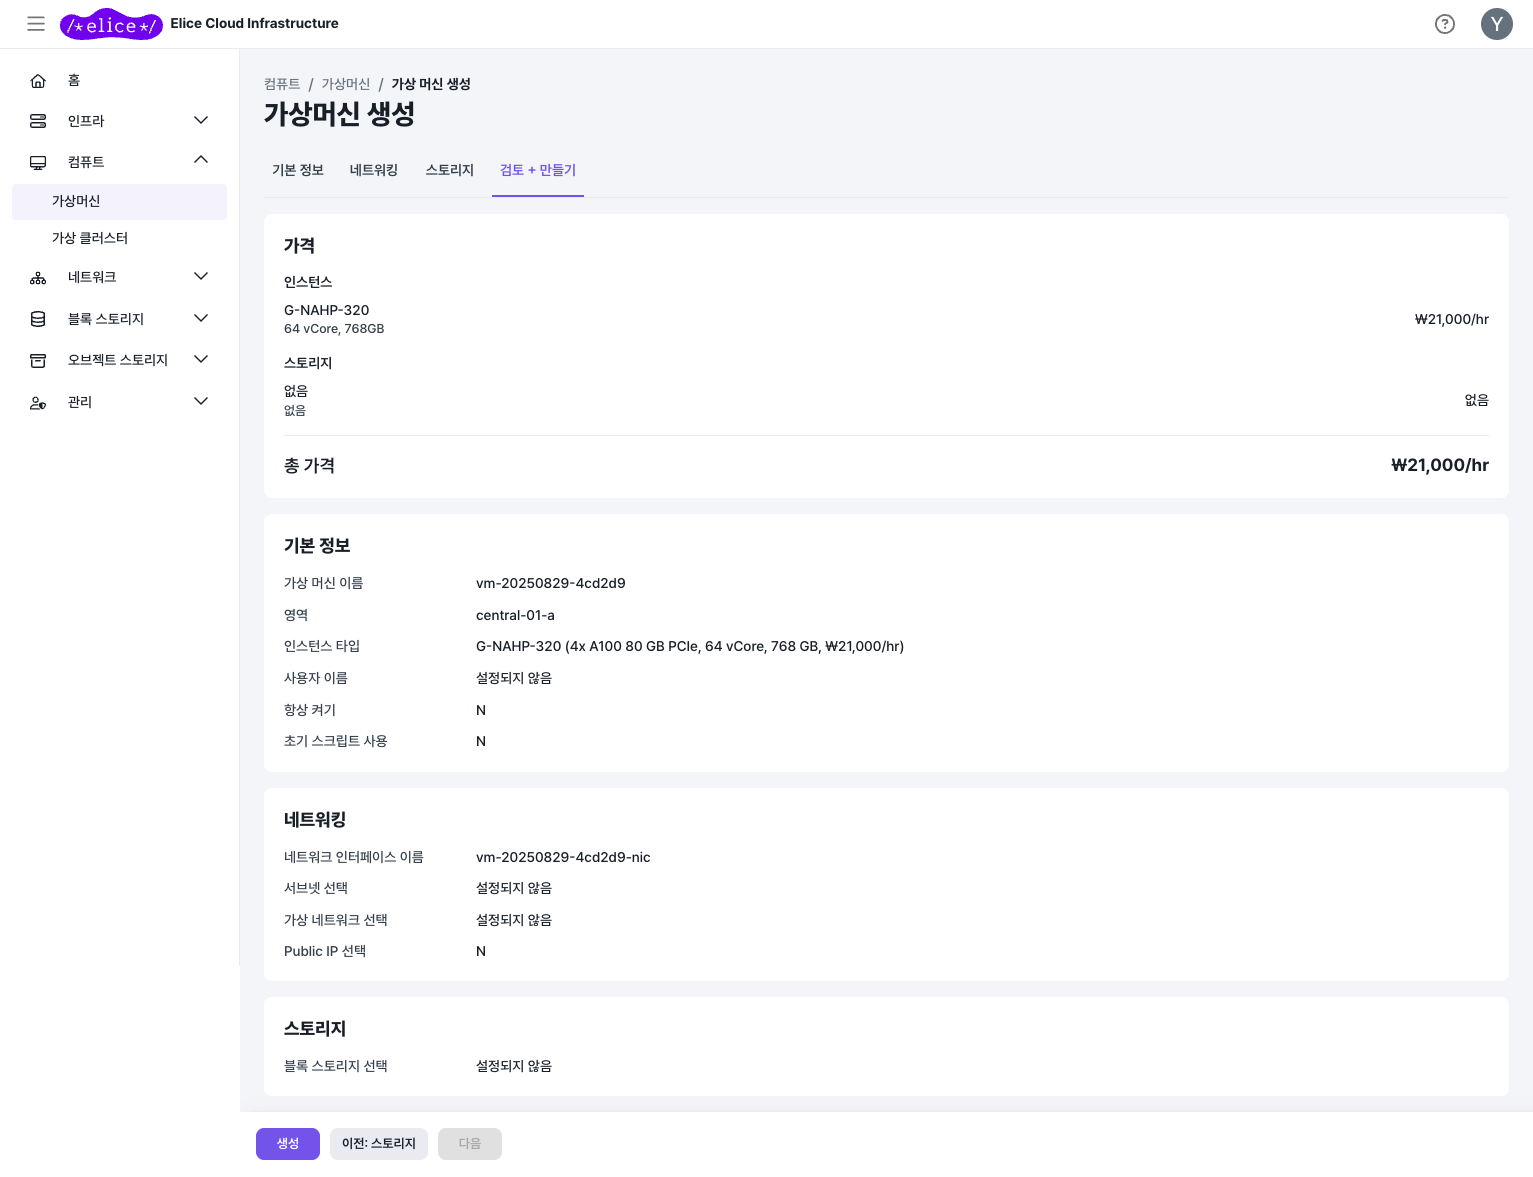
On the Review + Create step, confirm the settings and estimated cost, then click Create.
To connect from outside, you must allocate a public IP. If you only plan to use the in-portal web console, you don't need one.
The ECI firewall allows all traffic by default. A VM with a public IP attached will, with no further changes, expose its SSH port to the entire internet. Add a rule at the virtual-network level that narrows inbound port 22 to your own IP and blocks everything else. See Firewall rules for details.
Step 2: Start the VM
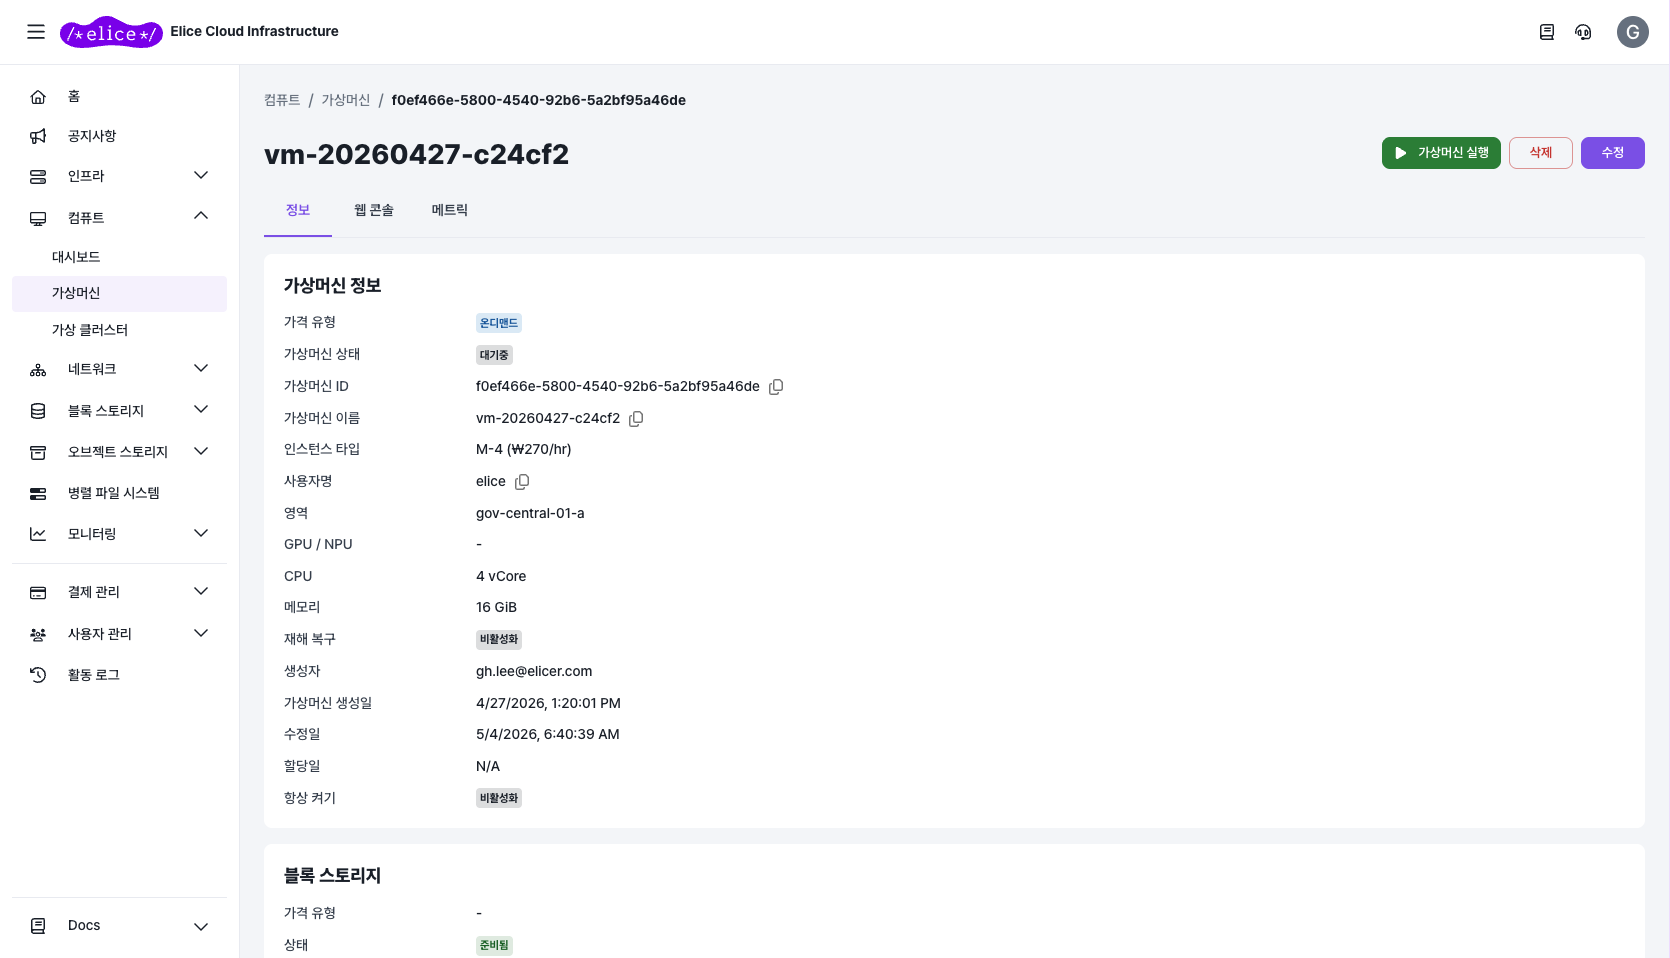
- After creation completes, you're taken to the VM detail page automatically (status: Ready).
- Click the Start button in the top right.
- Wait until the status changes to Running (usually 1–2 minutes).
Step 3: Connect from the web console
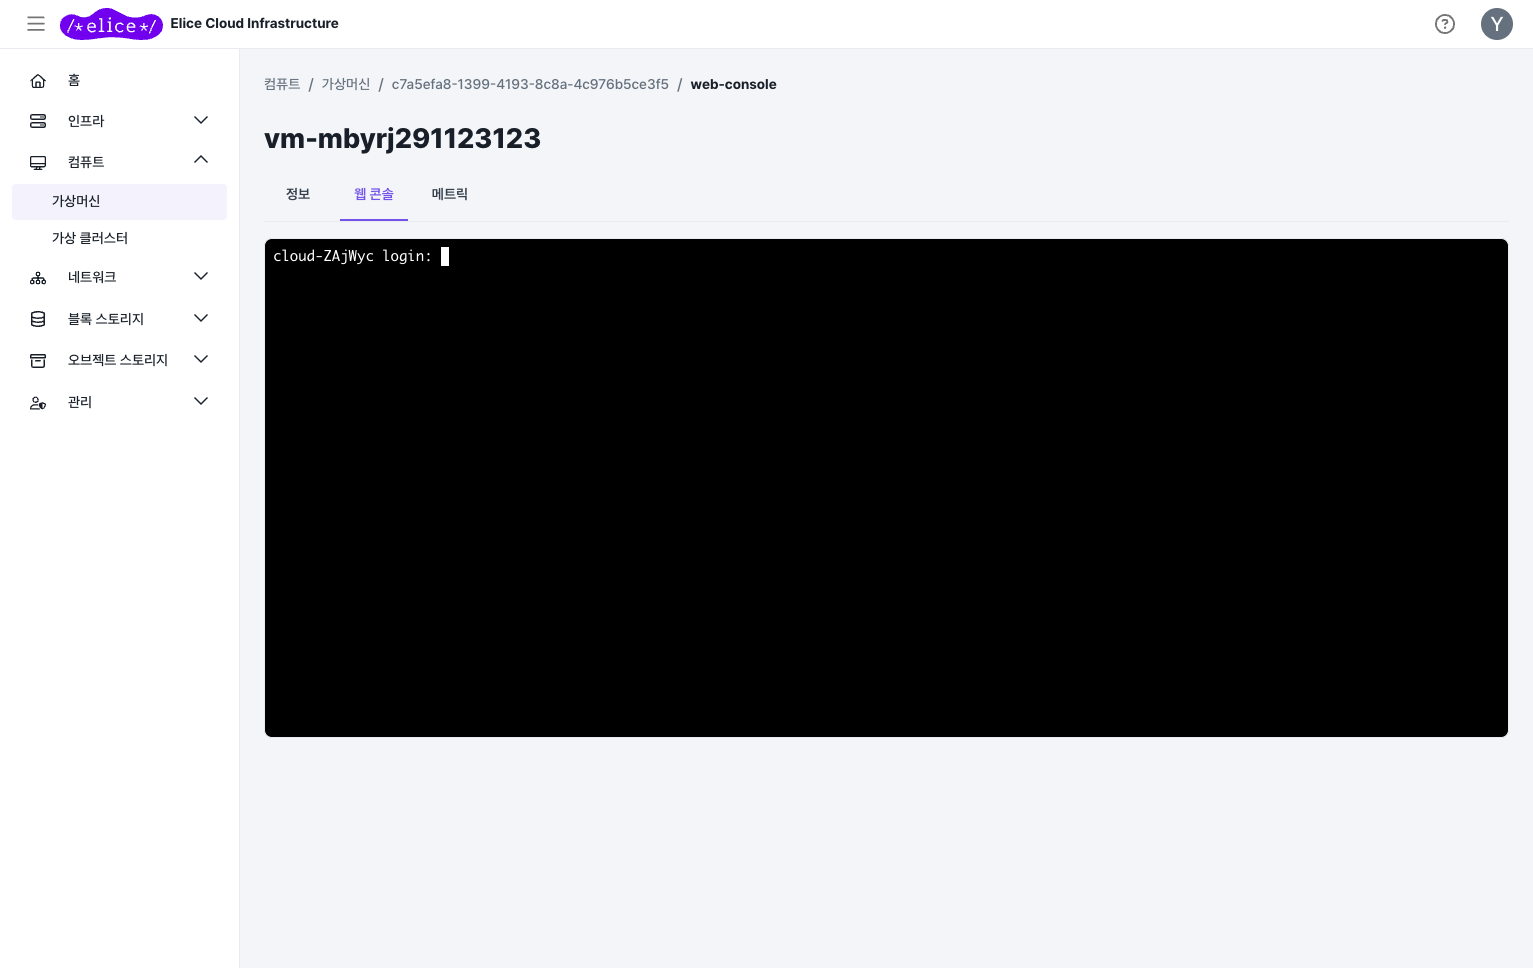
You can open a terminal directly from the browser, with no public IP or SSH setup required.
- On the VM detail page, click the Web Console tab.
- Sign in with your username and password.
With a public IP assigned, run ssh <username>@<public-ip> from a terminal. For SSH key authentication and more, see VM access methods.
Step 4: Verify the GPU
nvidia-smi
If you see the GPU model name and driver version, you're good to go.
Next steps
- VM access methods: SSH key authentication and the web console
- PyTorch CUDA compatibility issues: when the GPU is not detected
- Pricing model: how to choose between on-demand, reserved, and spot